Searching for a tool in a cluttered garage or struggling to complete a project on a shaky kitchen table is a common frustration for many homeowners. Without a designated space, projects take twice as long, safety is compromised by poor lighting, and the constant setup and teardown of equipment kills creative momentum. The lack of a proper sanctuary for your craft doesn’t just stall your hobbies; it turns what should be a relaxing outlet into a stressful logistical hurdle.
By prioritizing professional workshop building techniques, you can transform an underutilized basement, garage, or backyard area into a high-performance workspace. A well-planned shop provides the organization, specialized power, and ventilation needed to handle complex builds while increasing the long-term value of your property. This guide breaks down the essential phases of construction to ensure your new shop meets professional standards.
What are the first steps in workshop building?
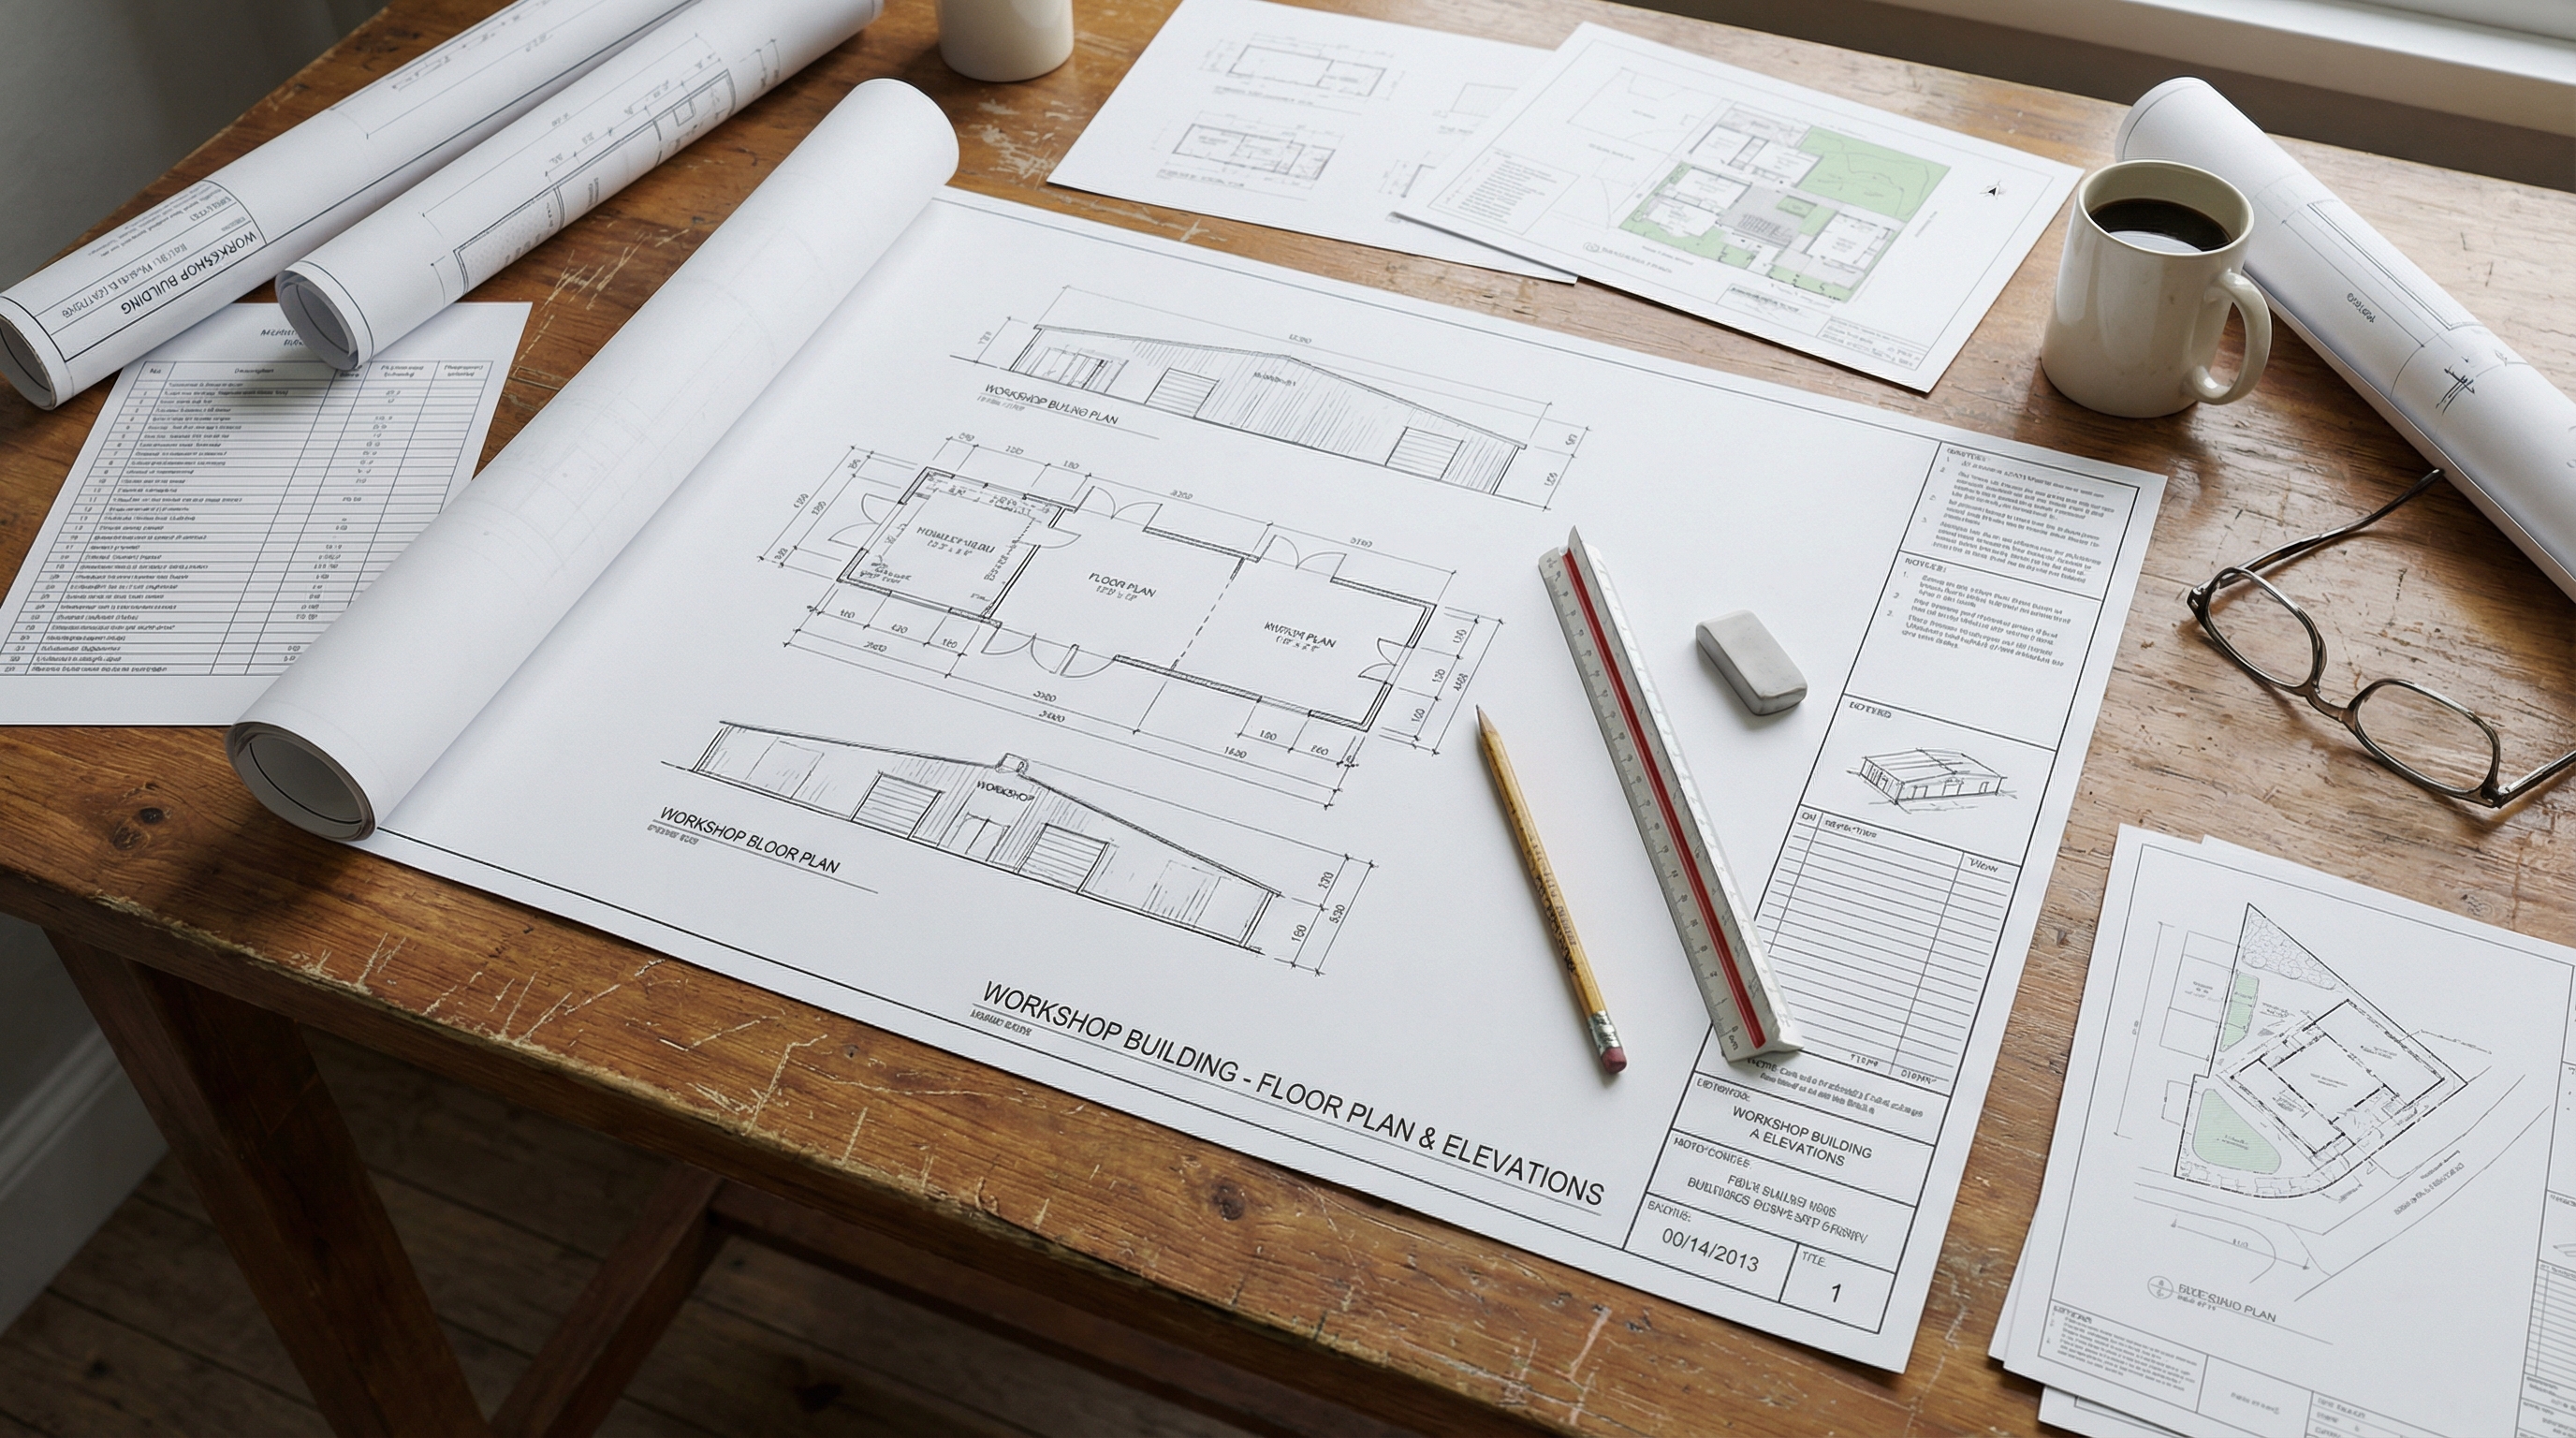
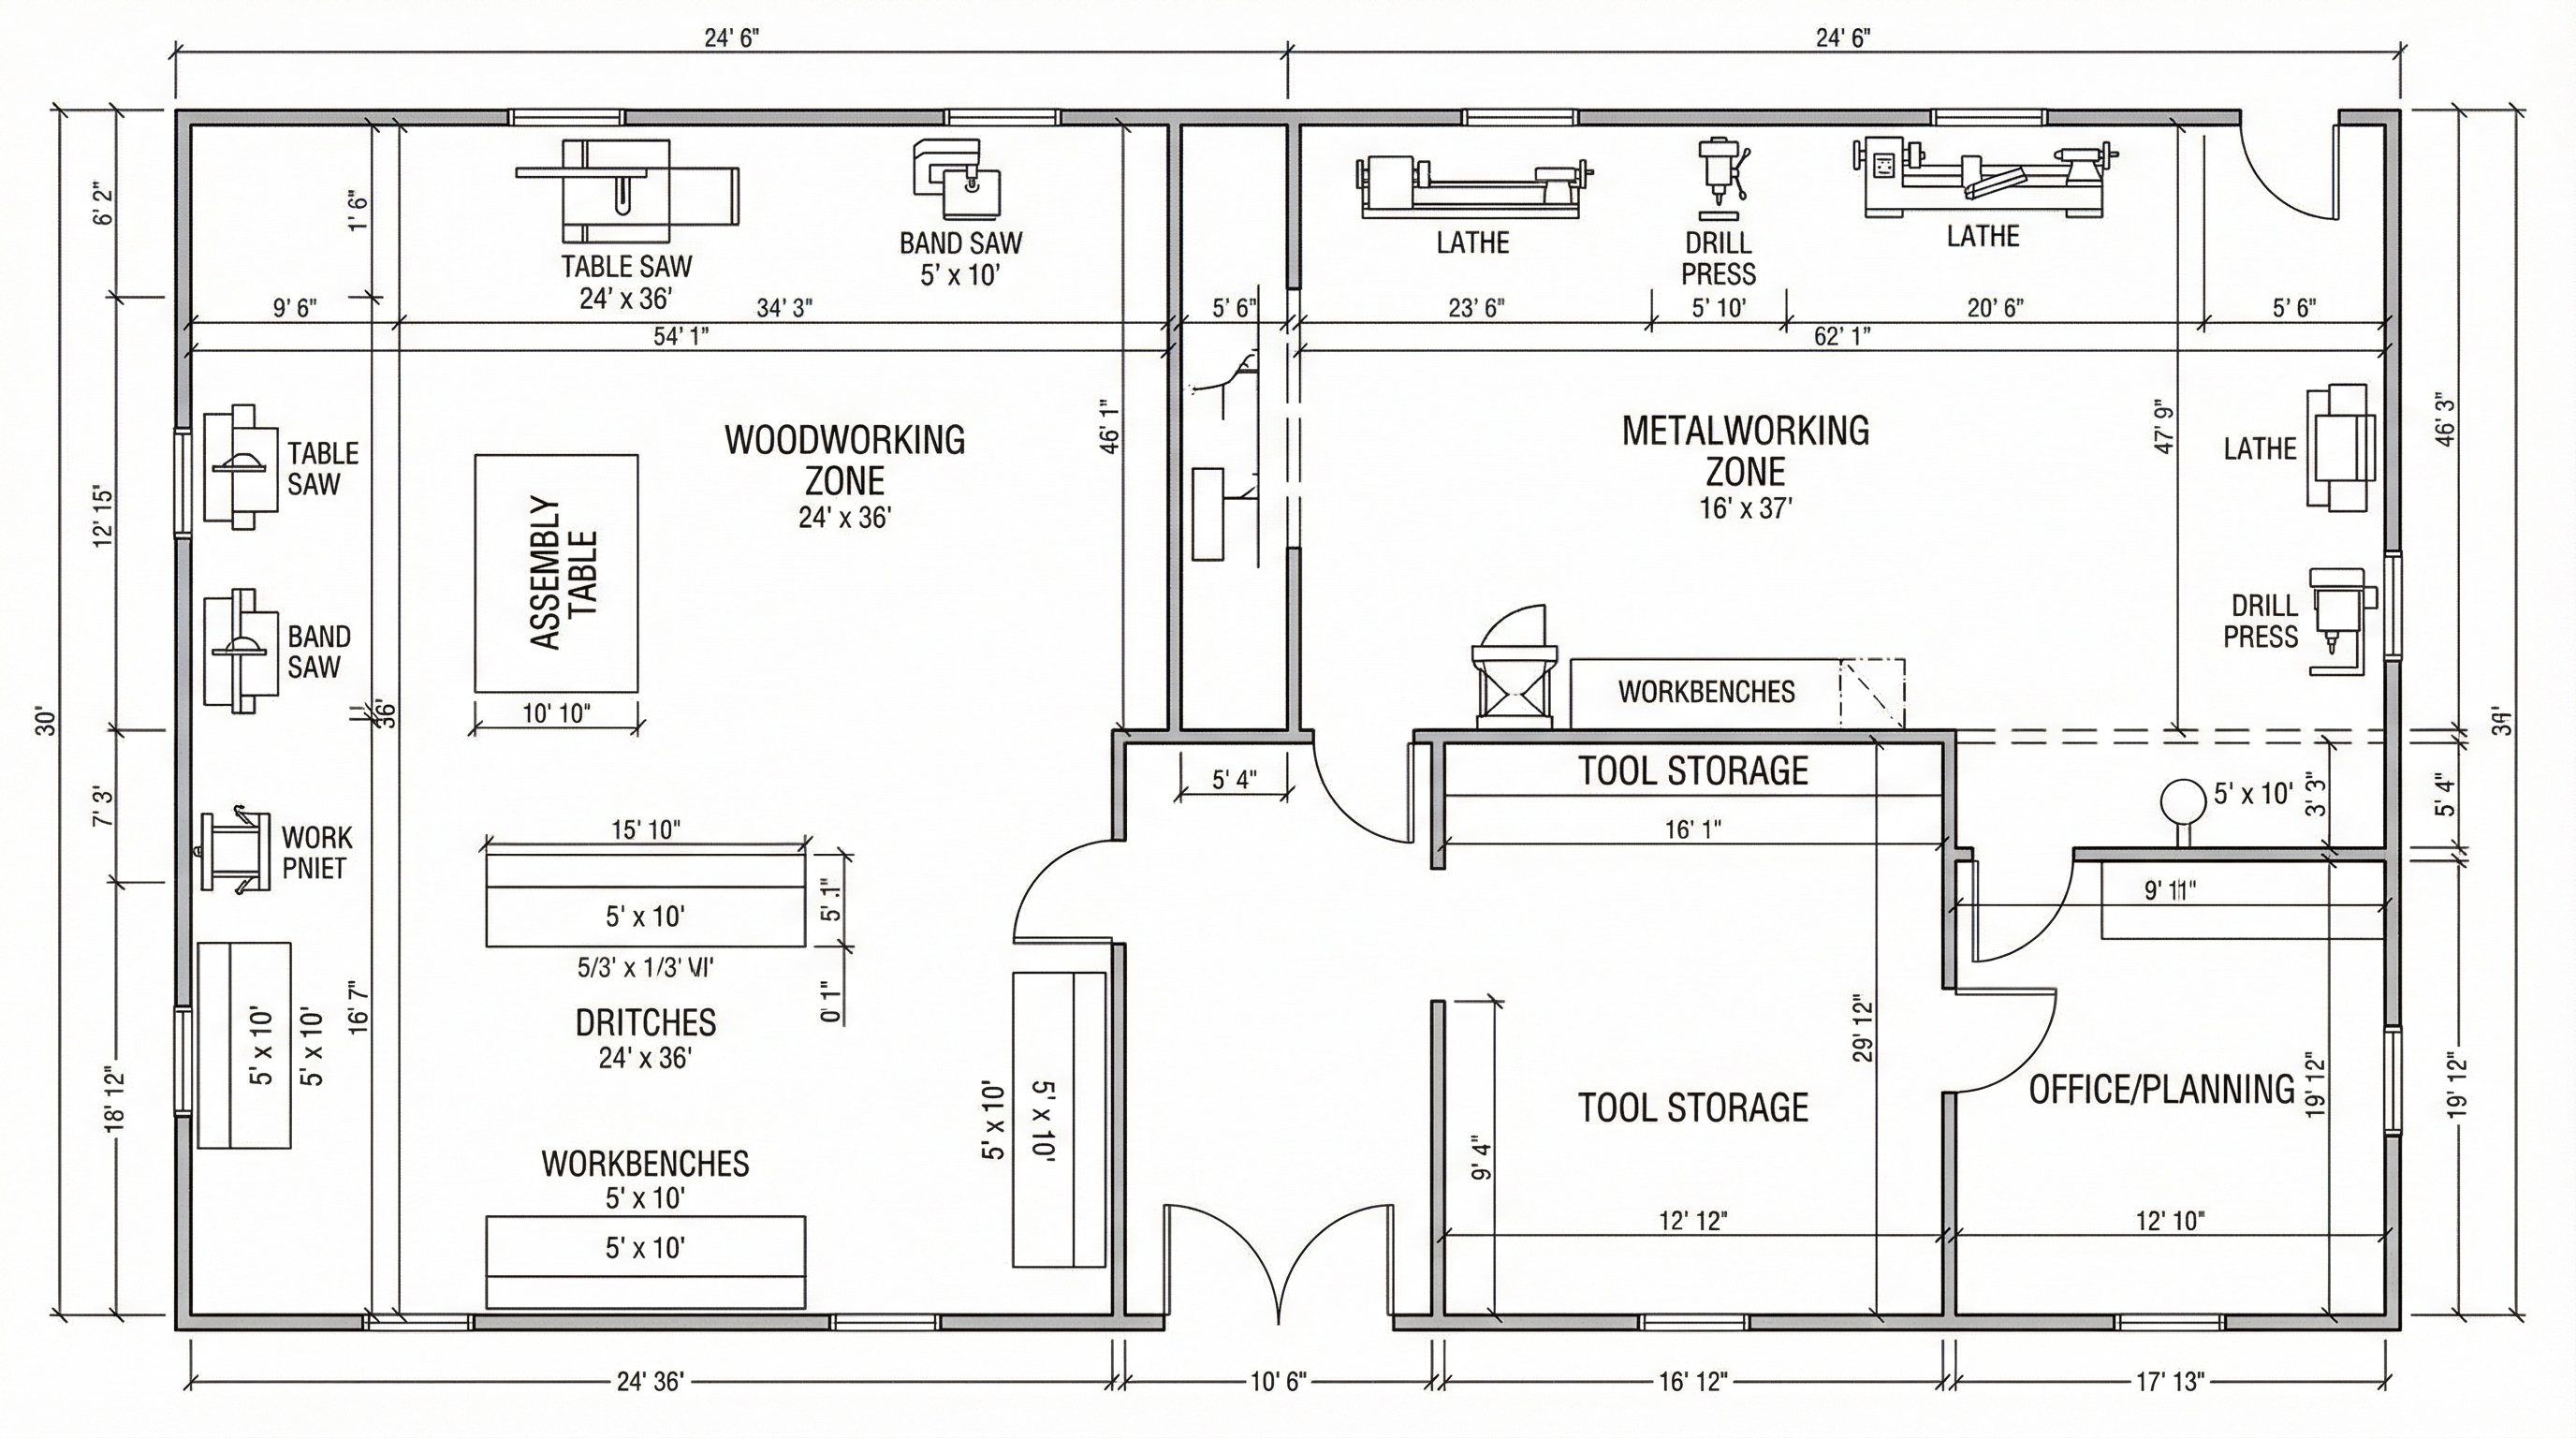
The foundation of any successful project is understanding exactly what will happen inside the walls. Whether you are focusing on fine furniture, automotive repair, or craft hobbies, your layout must reflect your specific tool movements and material handling needs. Assessing local zoning laws and structural site integrity early prevents costly redesigns and legal issues during the construction phase.
A professional layout accounts for the “work triangle” between your workbench, primary machinery, and material storage. When considering the flow of your space, you can gain inspiration from steel structure warehouse design for efficient logistics to ensure that movement remains unobstructed and productive. Drafting a preliminary floor plan is the most effective way to visualize these spatial requirements.
Planning Phase Overview
| Planning Element | Action Item | Priority | |
|---|---|---|---|
| Zoning Check | Verify local permits and setbacks | High | |
| Flow Mapping | Define paths for material entry/exit | Medium | |
| Tool Inventory | List all large footprint machinery | High | |
| Utility Review | Identify water and sewage access | Low |
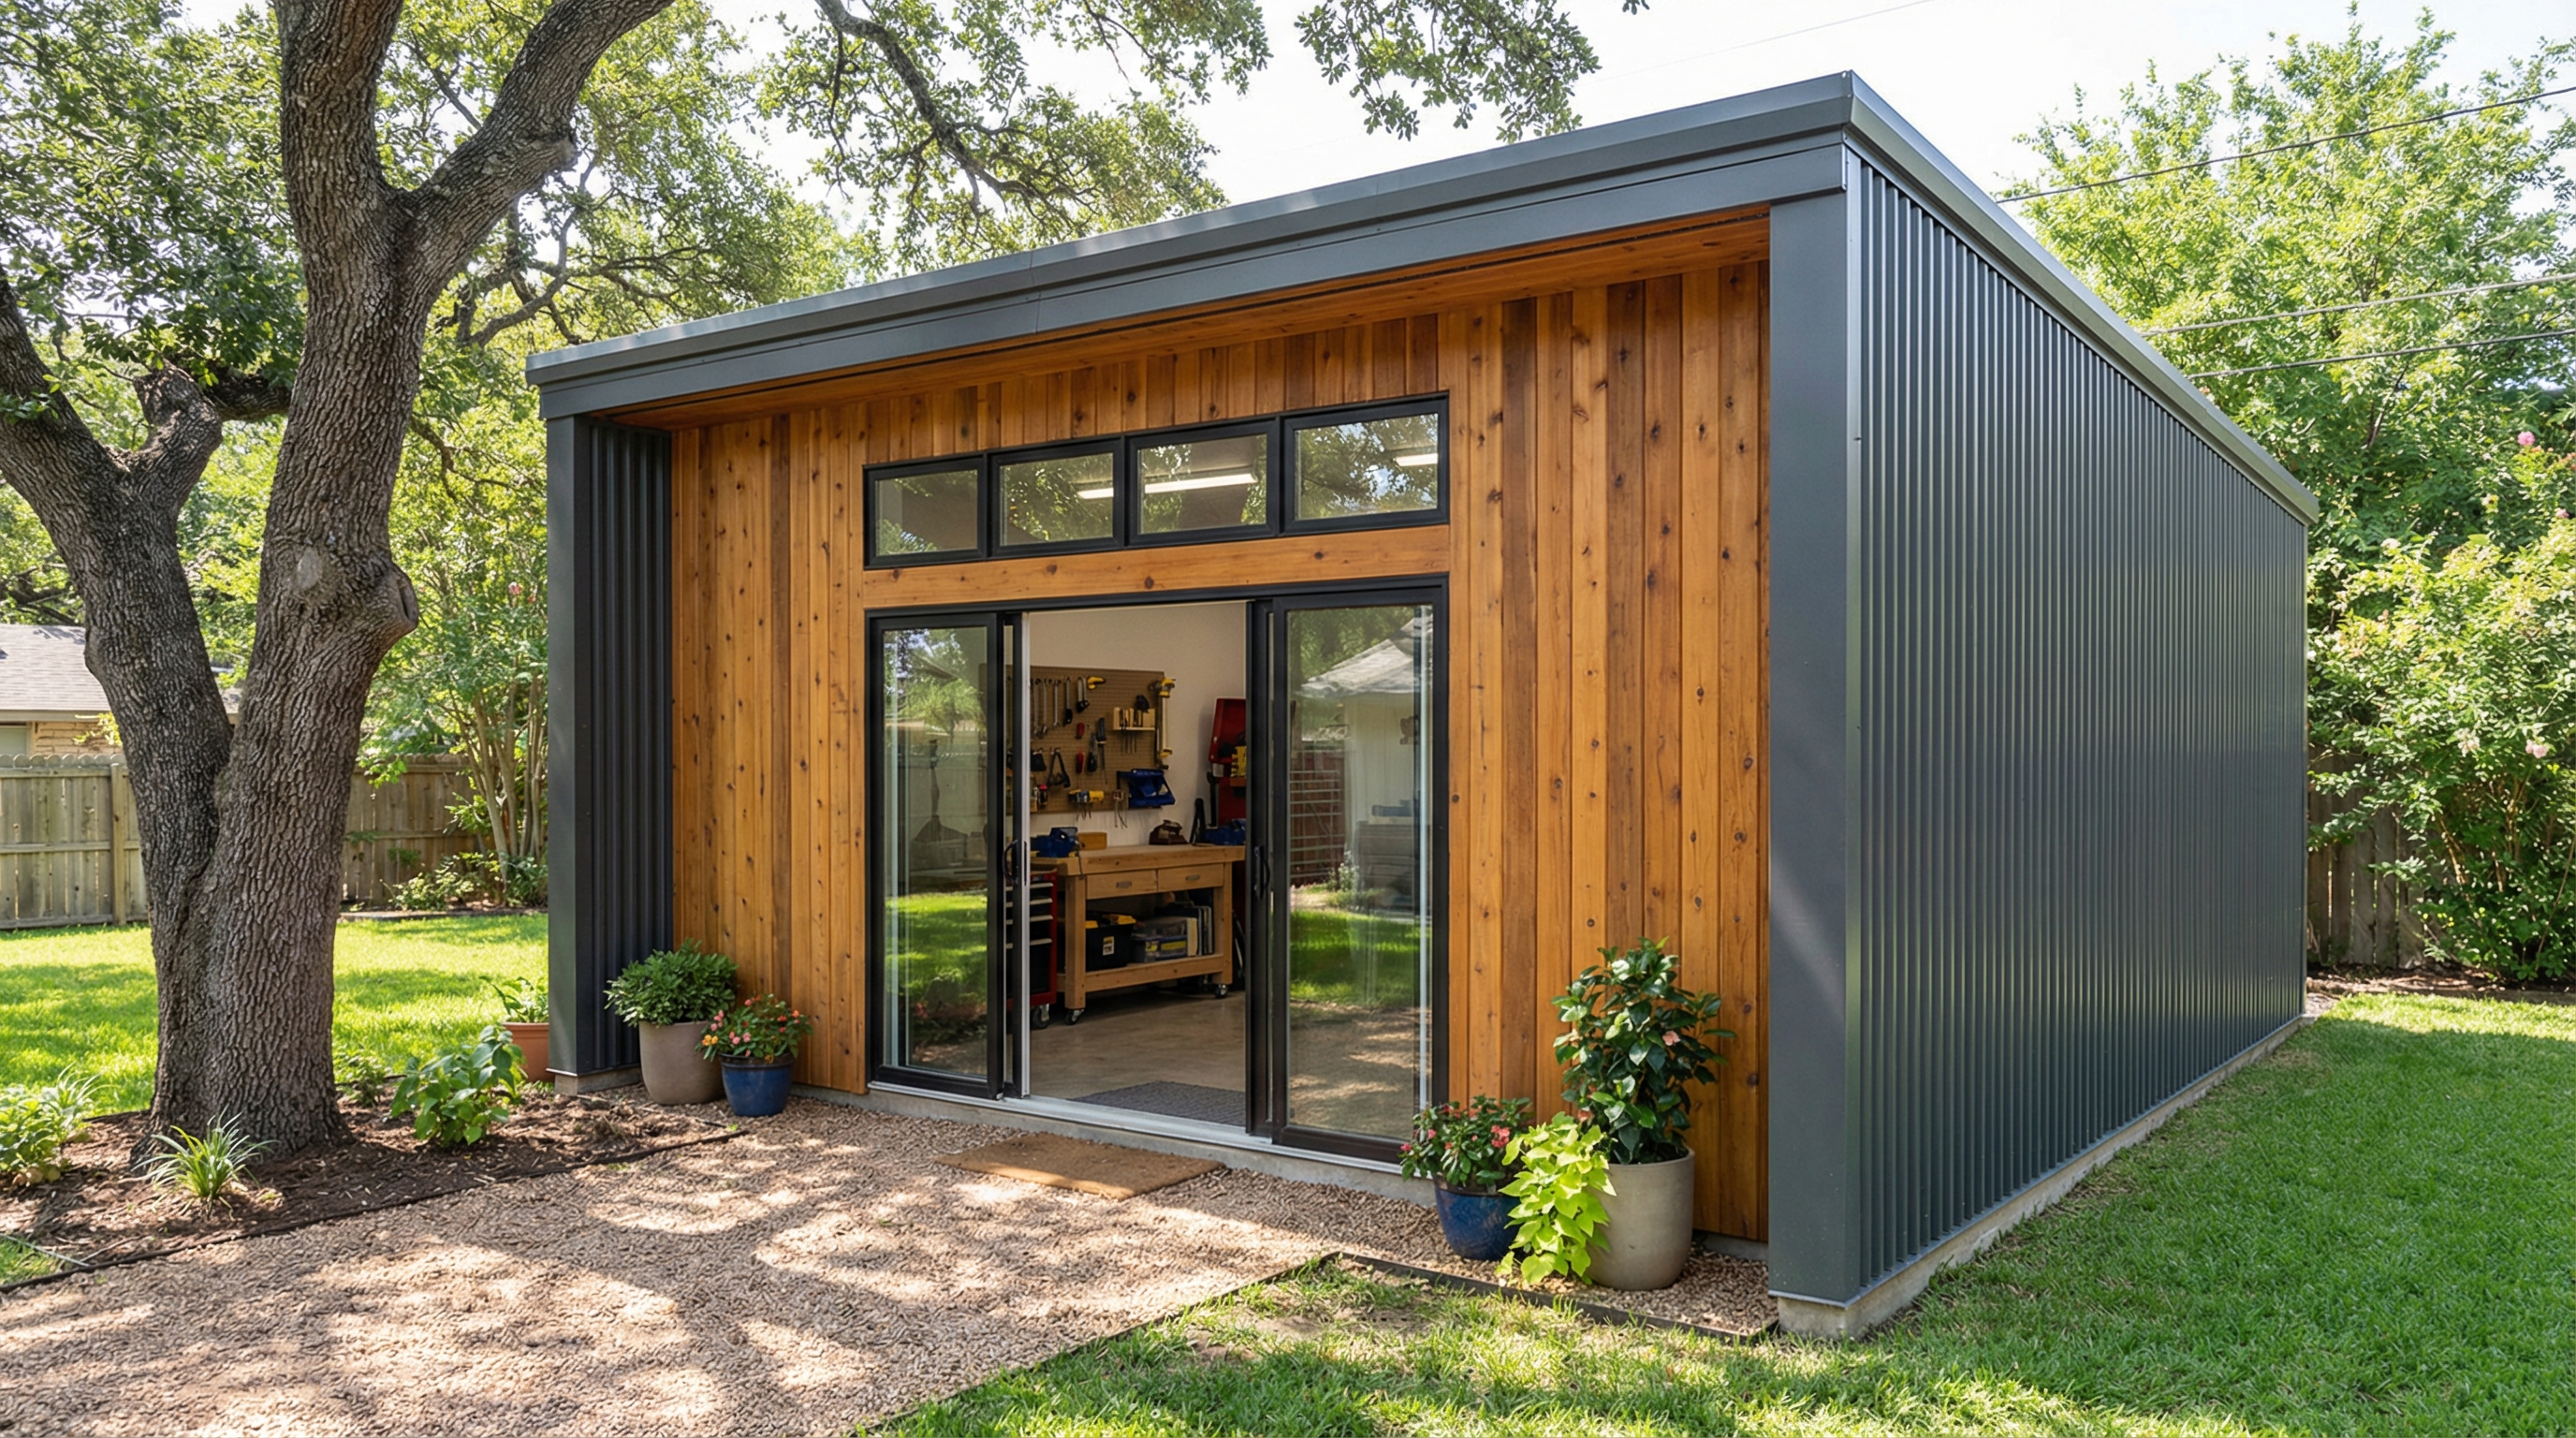
Where is the best location for workshop building?
Let’s look at your options. Basements offer built-in climate control and easy access from the main living area, making them ideal for year-round work. However, they require careful attention to moisture management and soundproofing to keep the rest of the home comfortable for other residents.
The garage remains the most popular choice due to high ceilings and large doors that facilitate the movement of oversized materials. It provides a semi-detached environment that keeps noise and dust away from living quarters while utilizing existing foundations. Constructing a separate building offers the ultimate freedom in design, though it requires the highest initial investment in utility installation.
Location Comparison
| Location Type | Major Advantage | Major Challenge | |
|---|---|---|---|
| Basement | Climate Stability | Dust & Noise Control | |
| Garage | Large Entry Points | Temperature Swings | |
| Standalone | Custom Layout | Utility Installation |
How do you choose the right size for workshop building?
Think about the future. Table saws, planers, and jointers require significant “outfeed” space to operate safely and effectively. You must account for the length of the boards you intend to cut, often needing at least 8 to 10 feet of clear space on both sides of stationary machinery.
A common mistake is building for the tools you have today rather than the tools you will own in five years. Utilizing specialized design methods for improving durability and ROI with structural steel framing allows your shop to scale alongside your skill level. Implementing mobile bases for heavy equipment ensures that even a small footprint can function as a professional-grade environment.
Space Allocation Strategy
| Space Factor | Square Footage Strategy | Usage | |
|---|---|---|---|
| Stationary Tools | 50-100 sq ft per unit | Heavy machining | |
| Assembly Area | 4×8 ft minimum | Project glue-ups | |
| Clear Path | 3 ft wide walkways | Safety and flow | |
| Storage Zone | Vertical wall integration | Material/Tool density |
Which materials are best for workshop building?

Choosing the right framing material impacts everything from wall thickness to the ability to hang heavy cabinetry or hoist systems. While traditional wood framing is familiar, modern steel alternatives offer superior longevity and fire resistance. These structures provide a stable environment that resists warping and pest damage over decades of use.
Workshop floors endure dropped tools, heavy vibrations, and chemical spills that can degrade standard surfaces. While concrete is the industry standard, adding epoxy coatings or specialized rubber mats can reduce fatigue and protect your tools from damage upon impact. Material selection should always prioritize structural integrity and long-term resistance to wear.
Material Selection Guide
| Material | Best Use Case | Benefit | |
|---|---|---|---|
| Structural Steel | Main Framing | Strength & Fire Resistance | |
| Plywood/OSB | Interior Walls | Easy Tool Mounting | |
| Epoxy Coating | Flooring | Chemical Resistance | |
| Mineral Wool | Insulation | Sound & Fire Deadening |
What electrical needs are vital for workshop building?
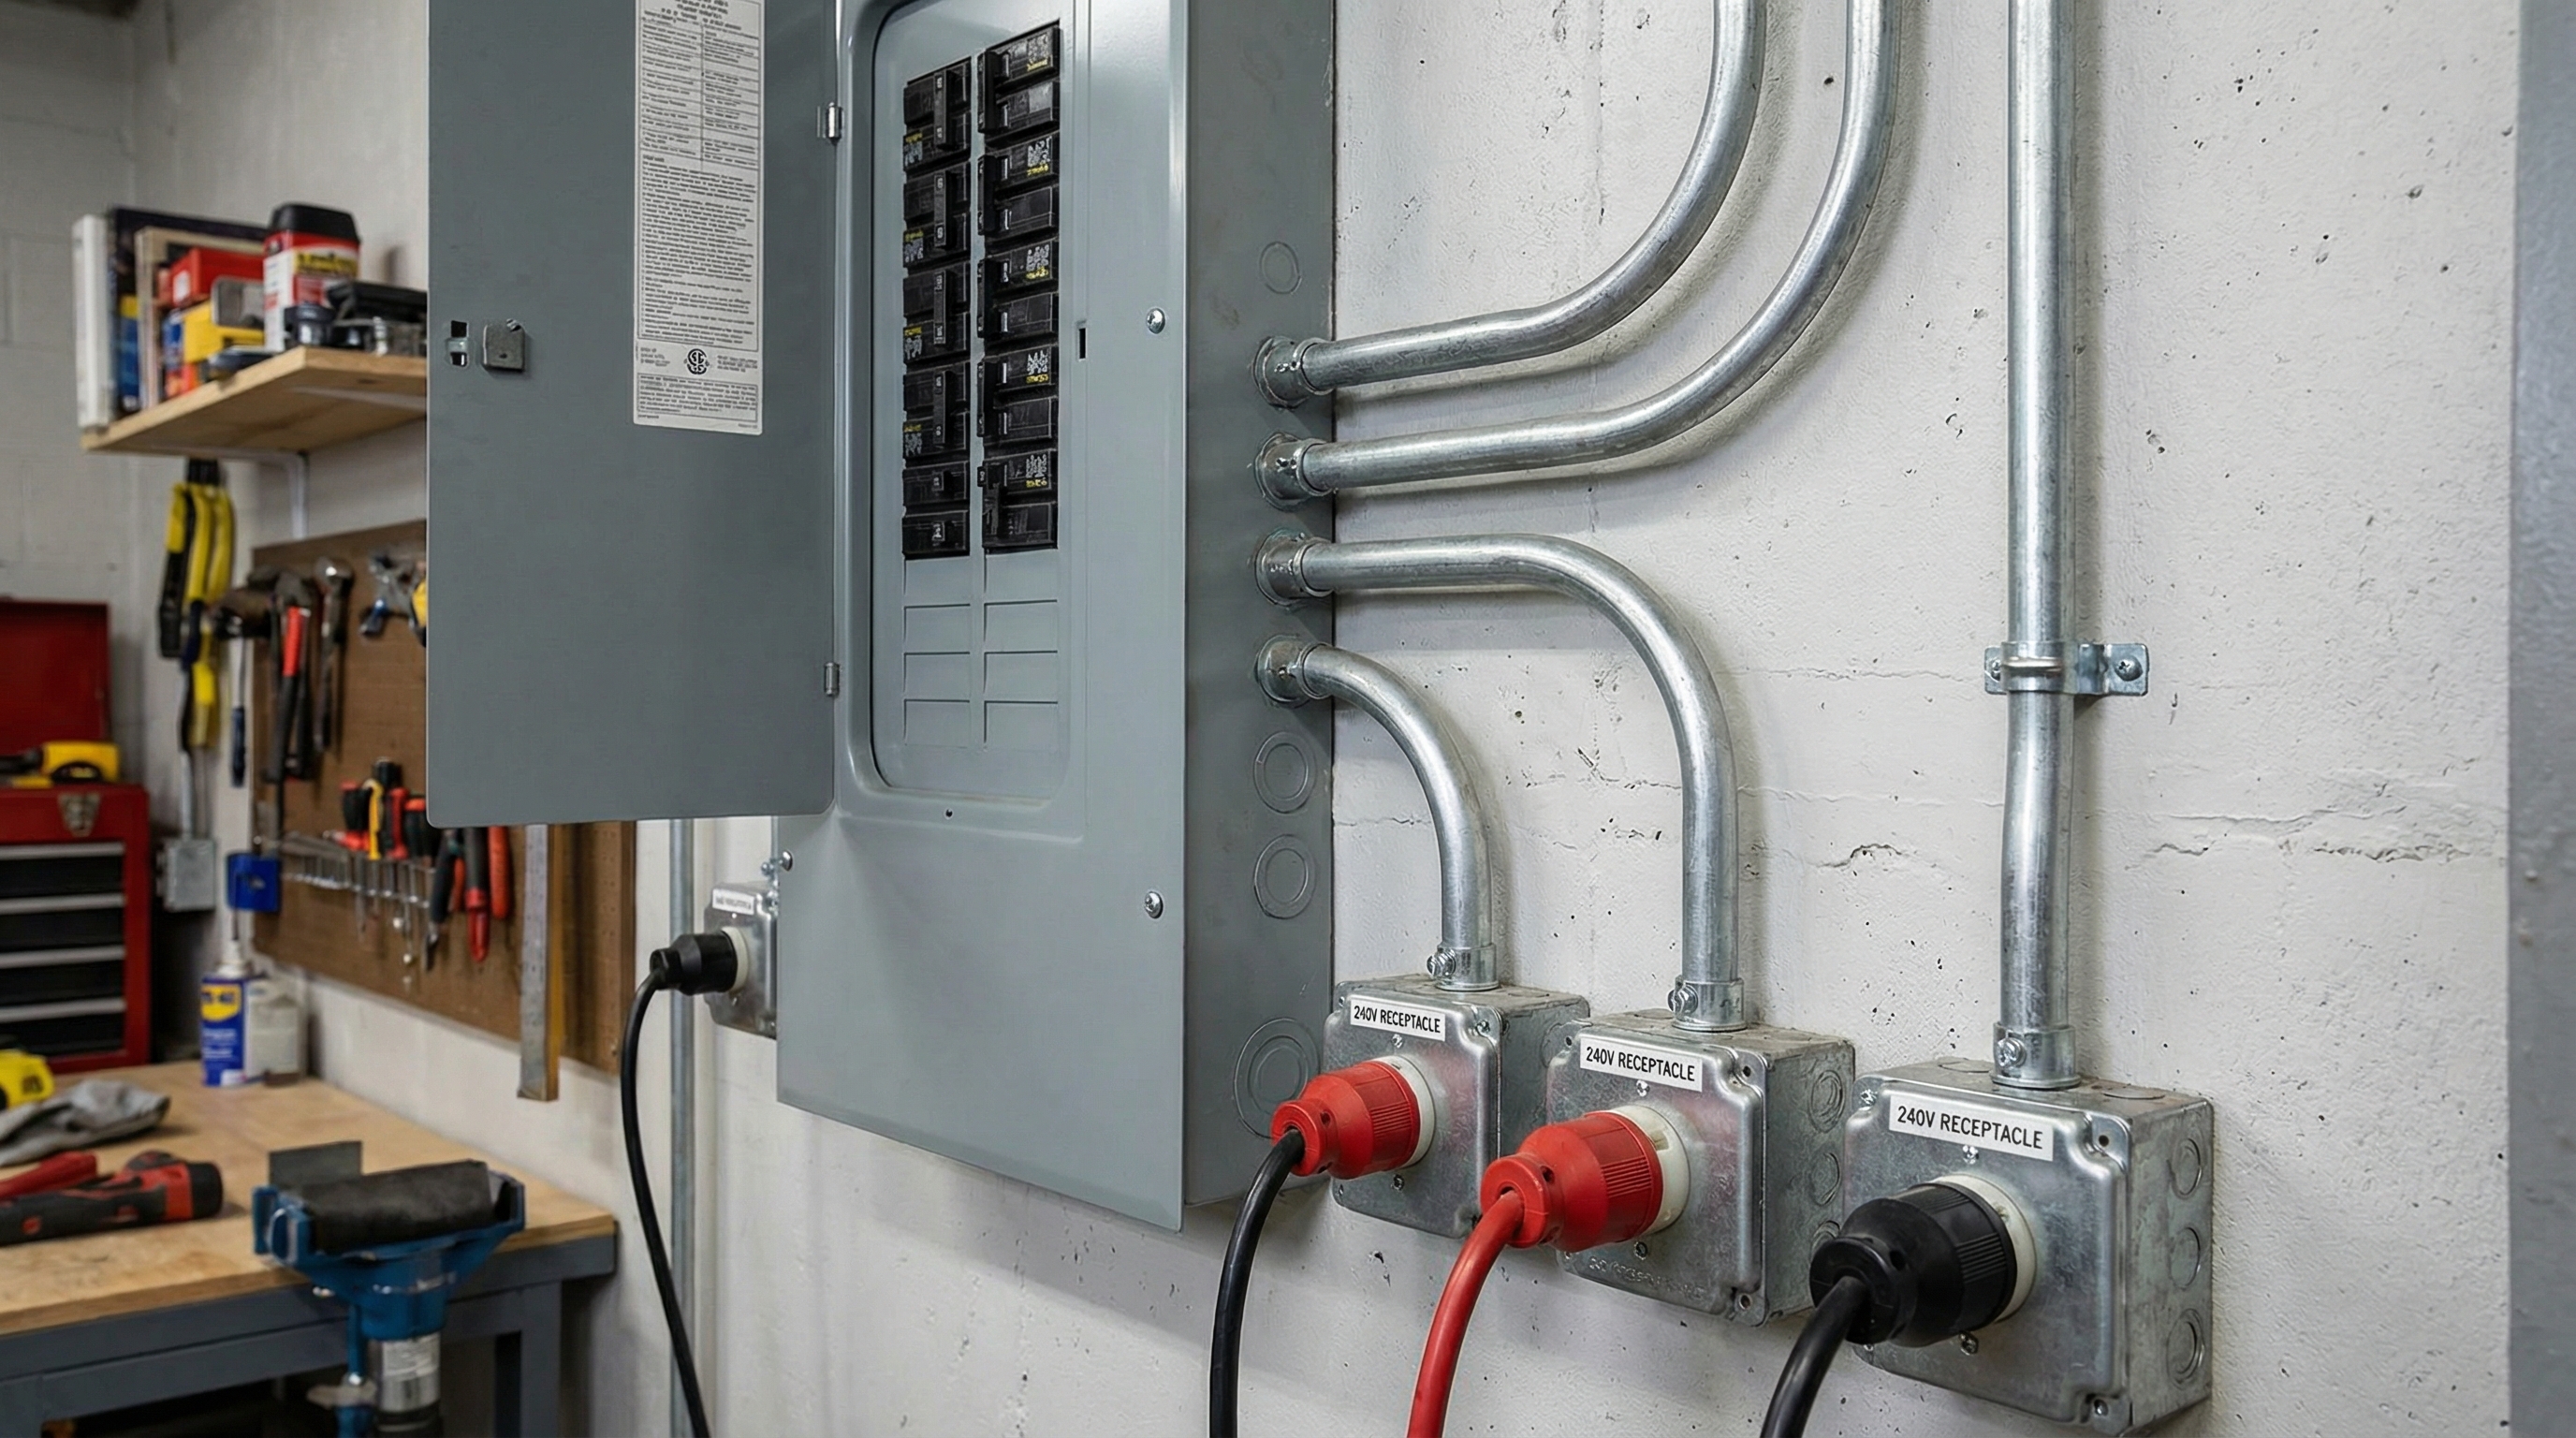
Don’t settle for standard power. Standard household 15-amp circuits often trip under the load of a table saw or dust collector working in tandem. Understanding the properties that make a steel structure strong and durable is as important as installing dedicated 20-amp circuits for power tools and 240-volt outlets for heavy machinery.
Avoid the tangle of extension cords by placing outlets every four feet along workwalls and installing ceiling-mounted drop cords. This keeps the floor clear of trip hazards and ensures power is always within reach of your workbench. Adhering to Ground Fault Circuit Interrupter (GFCI) protection codes ensures your workspace remains safe and compliant with insurance requirements.
Electrical Specifications
| Electrical Component | Recommended Spec | Function | |
|---|---|---|---|
| Hand Tool Circuit | 20-Amp / 120V | General power | |
| Heavy Machinery | 30-50 Amp / 240V | Large saws/welders | |
| Lighting Circuit | Dedicated 15-Amp | Prevents total darkness | |
| Safety Outlets | GFCI Rated | Moisture protection |
How can you ensure safety during workshop building?
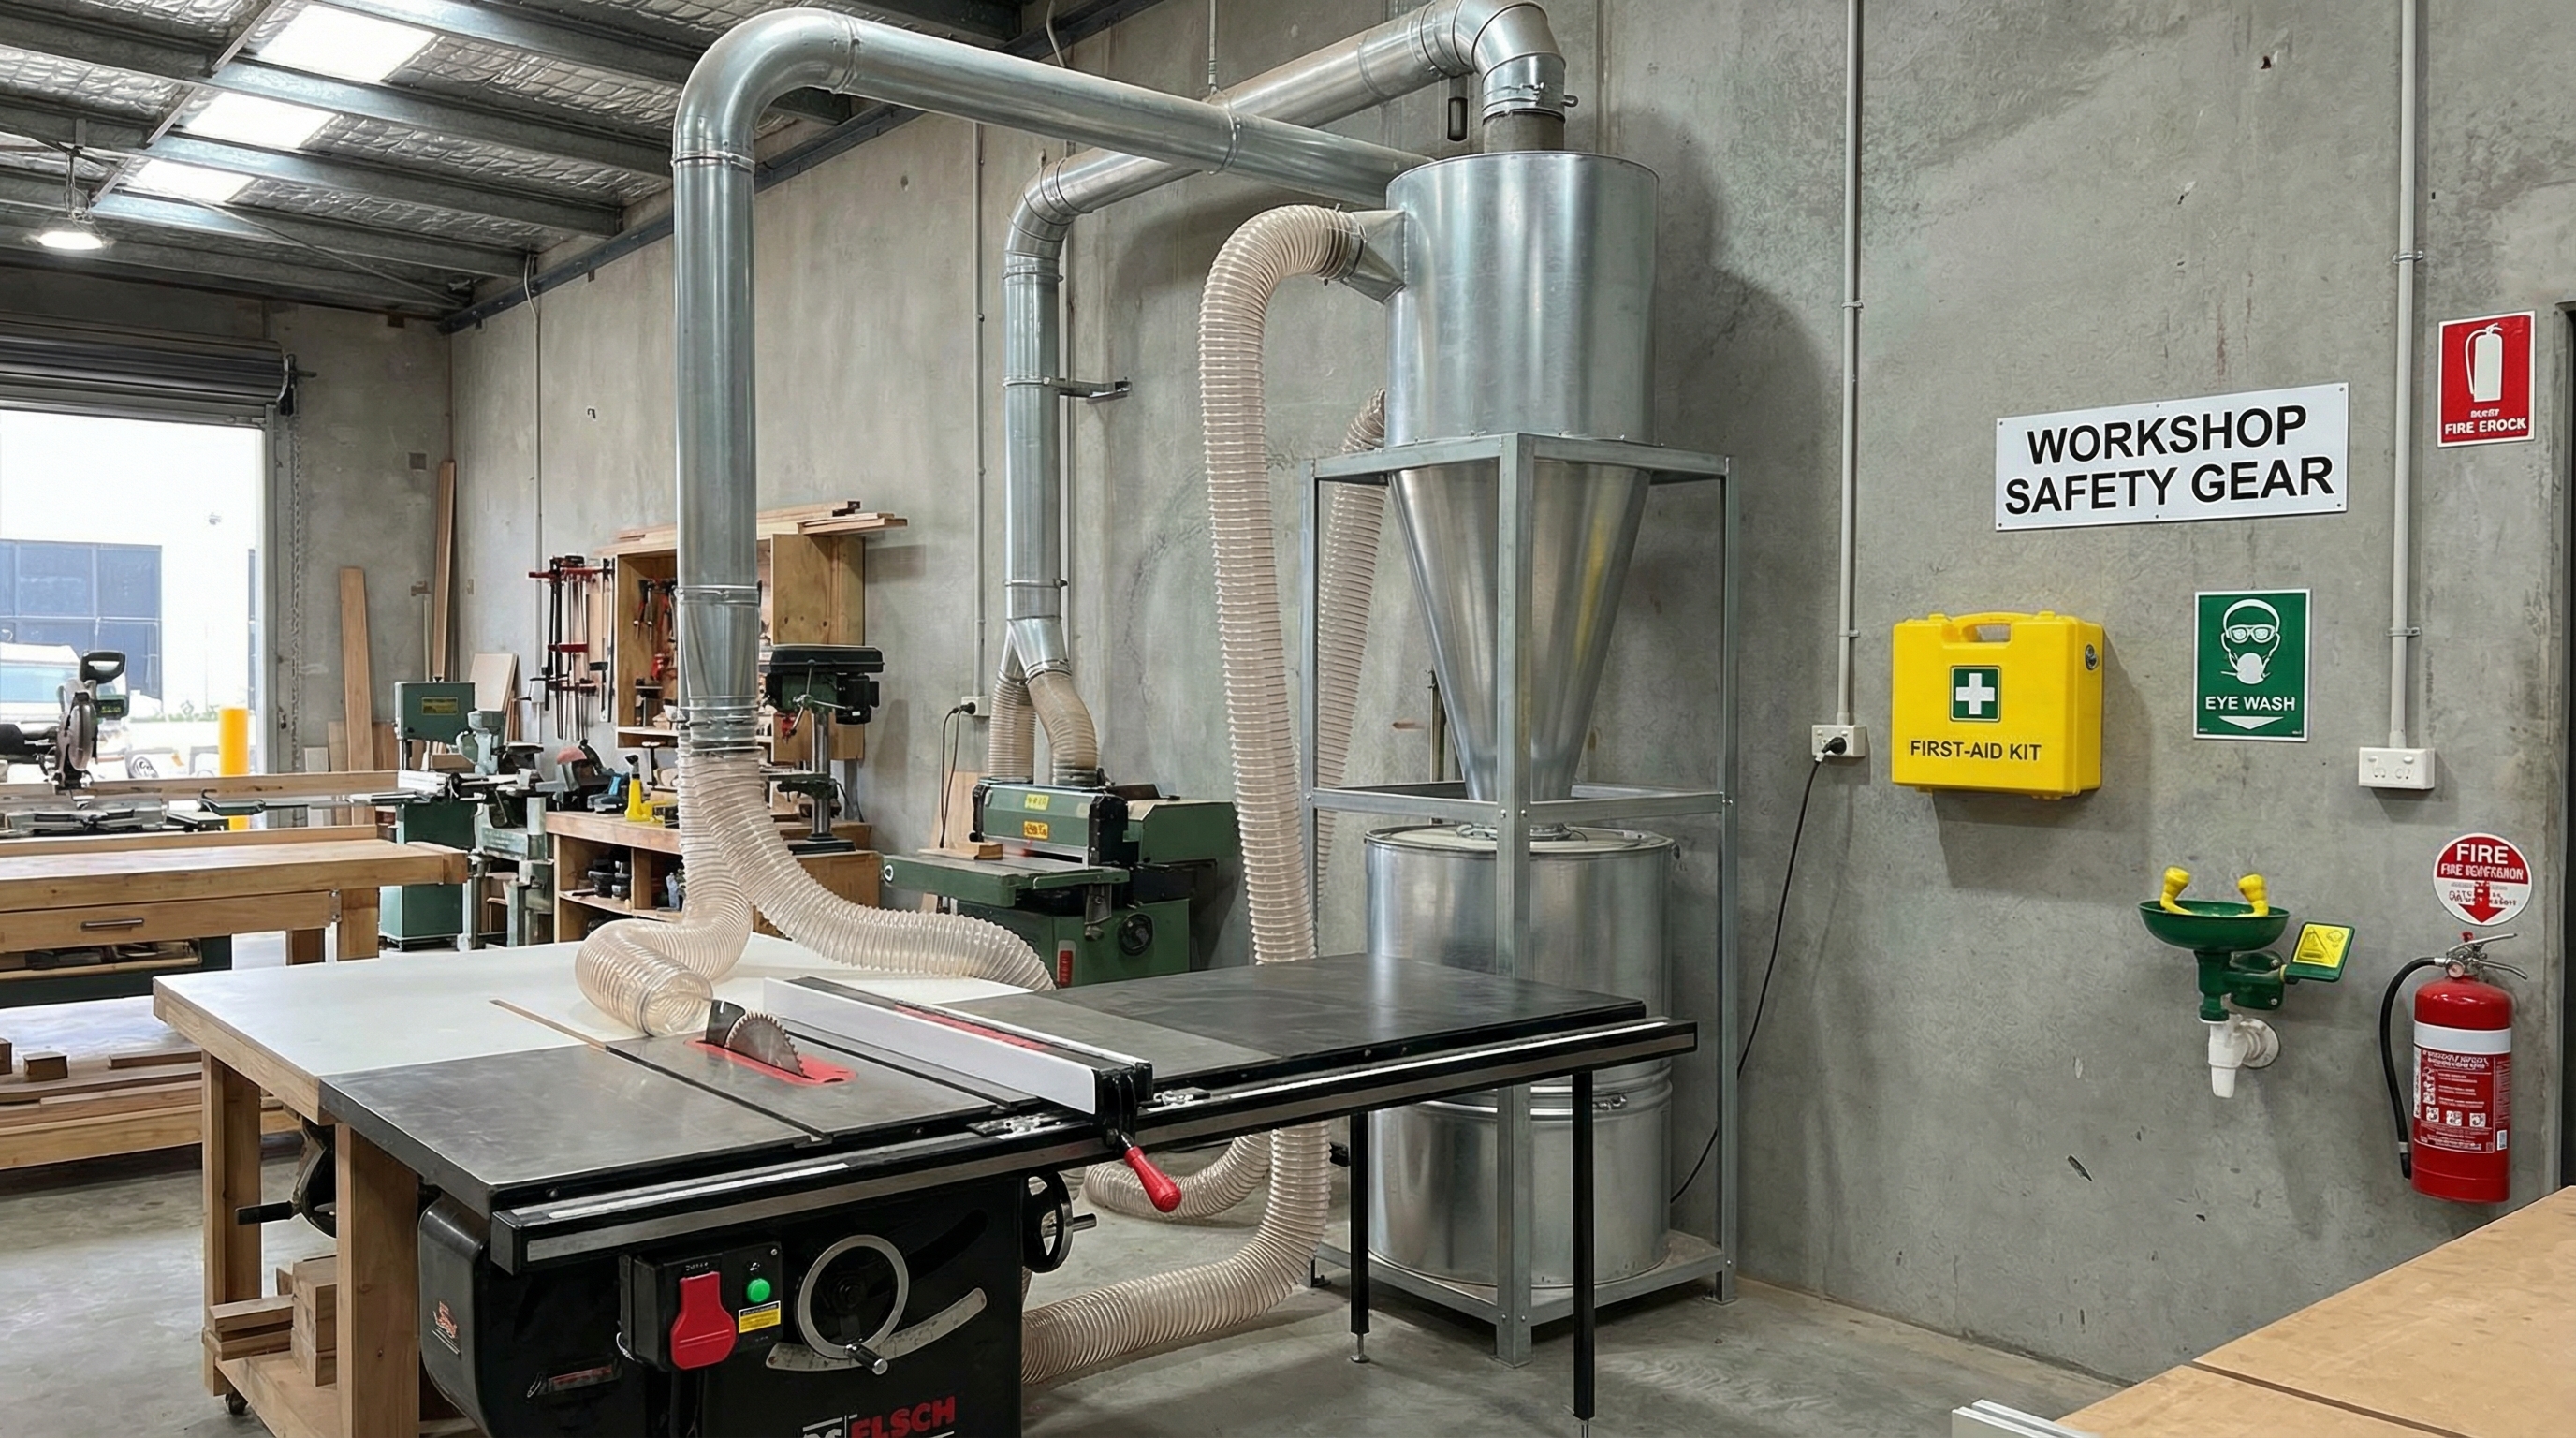
Safety is a structural requirement, not just a set of personal habits. Properly storing flammable finishes and oily rags in fire-rated cabinets is a critical design element for any professional shop. Additionally, ensuring your building materials are non-combustible adds an extra layer of protection for your home and personal assets.
If you live in an area prone to high winds or tectonic activity, your building must be anchored and braced accordingly. It is vital to use high-quality components to protect your expensive equipment from natural disasters during the construction process. Designing for seismic and weather resistance ensures that your investment remains standing regardless of environmental challenges.
Safety Infrastructure
| Safety Feature | Target Risk | Solution | |
|---|---|---|---|
| Fire Cabinet | Spontaneous Combustion | UL-Listed Metal Storage | |
| Seismic Anchors | Earthquakes | Steel-to-Concrete Bolting | |
| First Aid Station | Personal Injury | Accessible Wall Kit | |
| Safety Signage | Operational Error | High-Visibility Labels |
What storage solutions optimize workshop building?
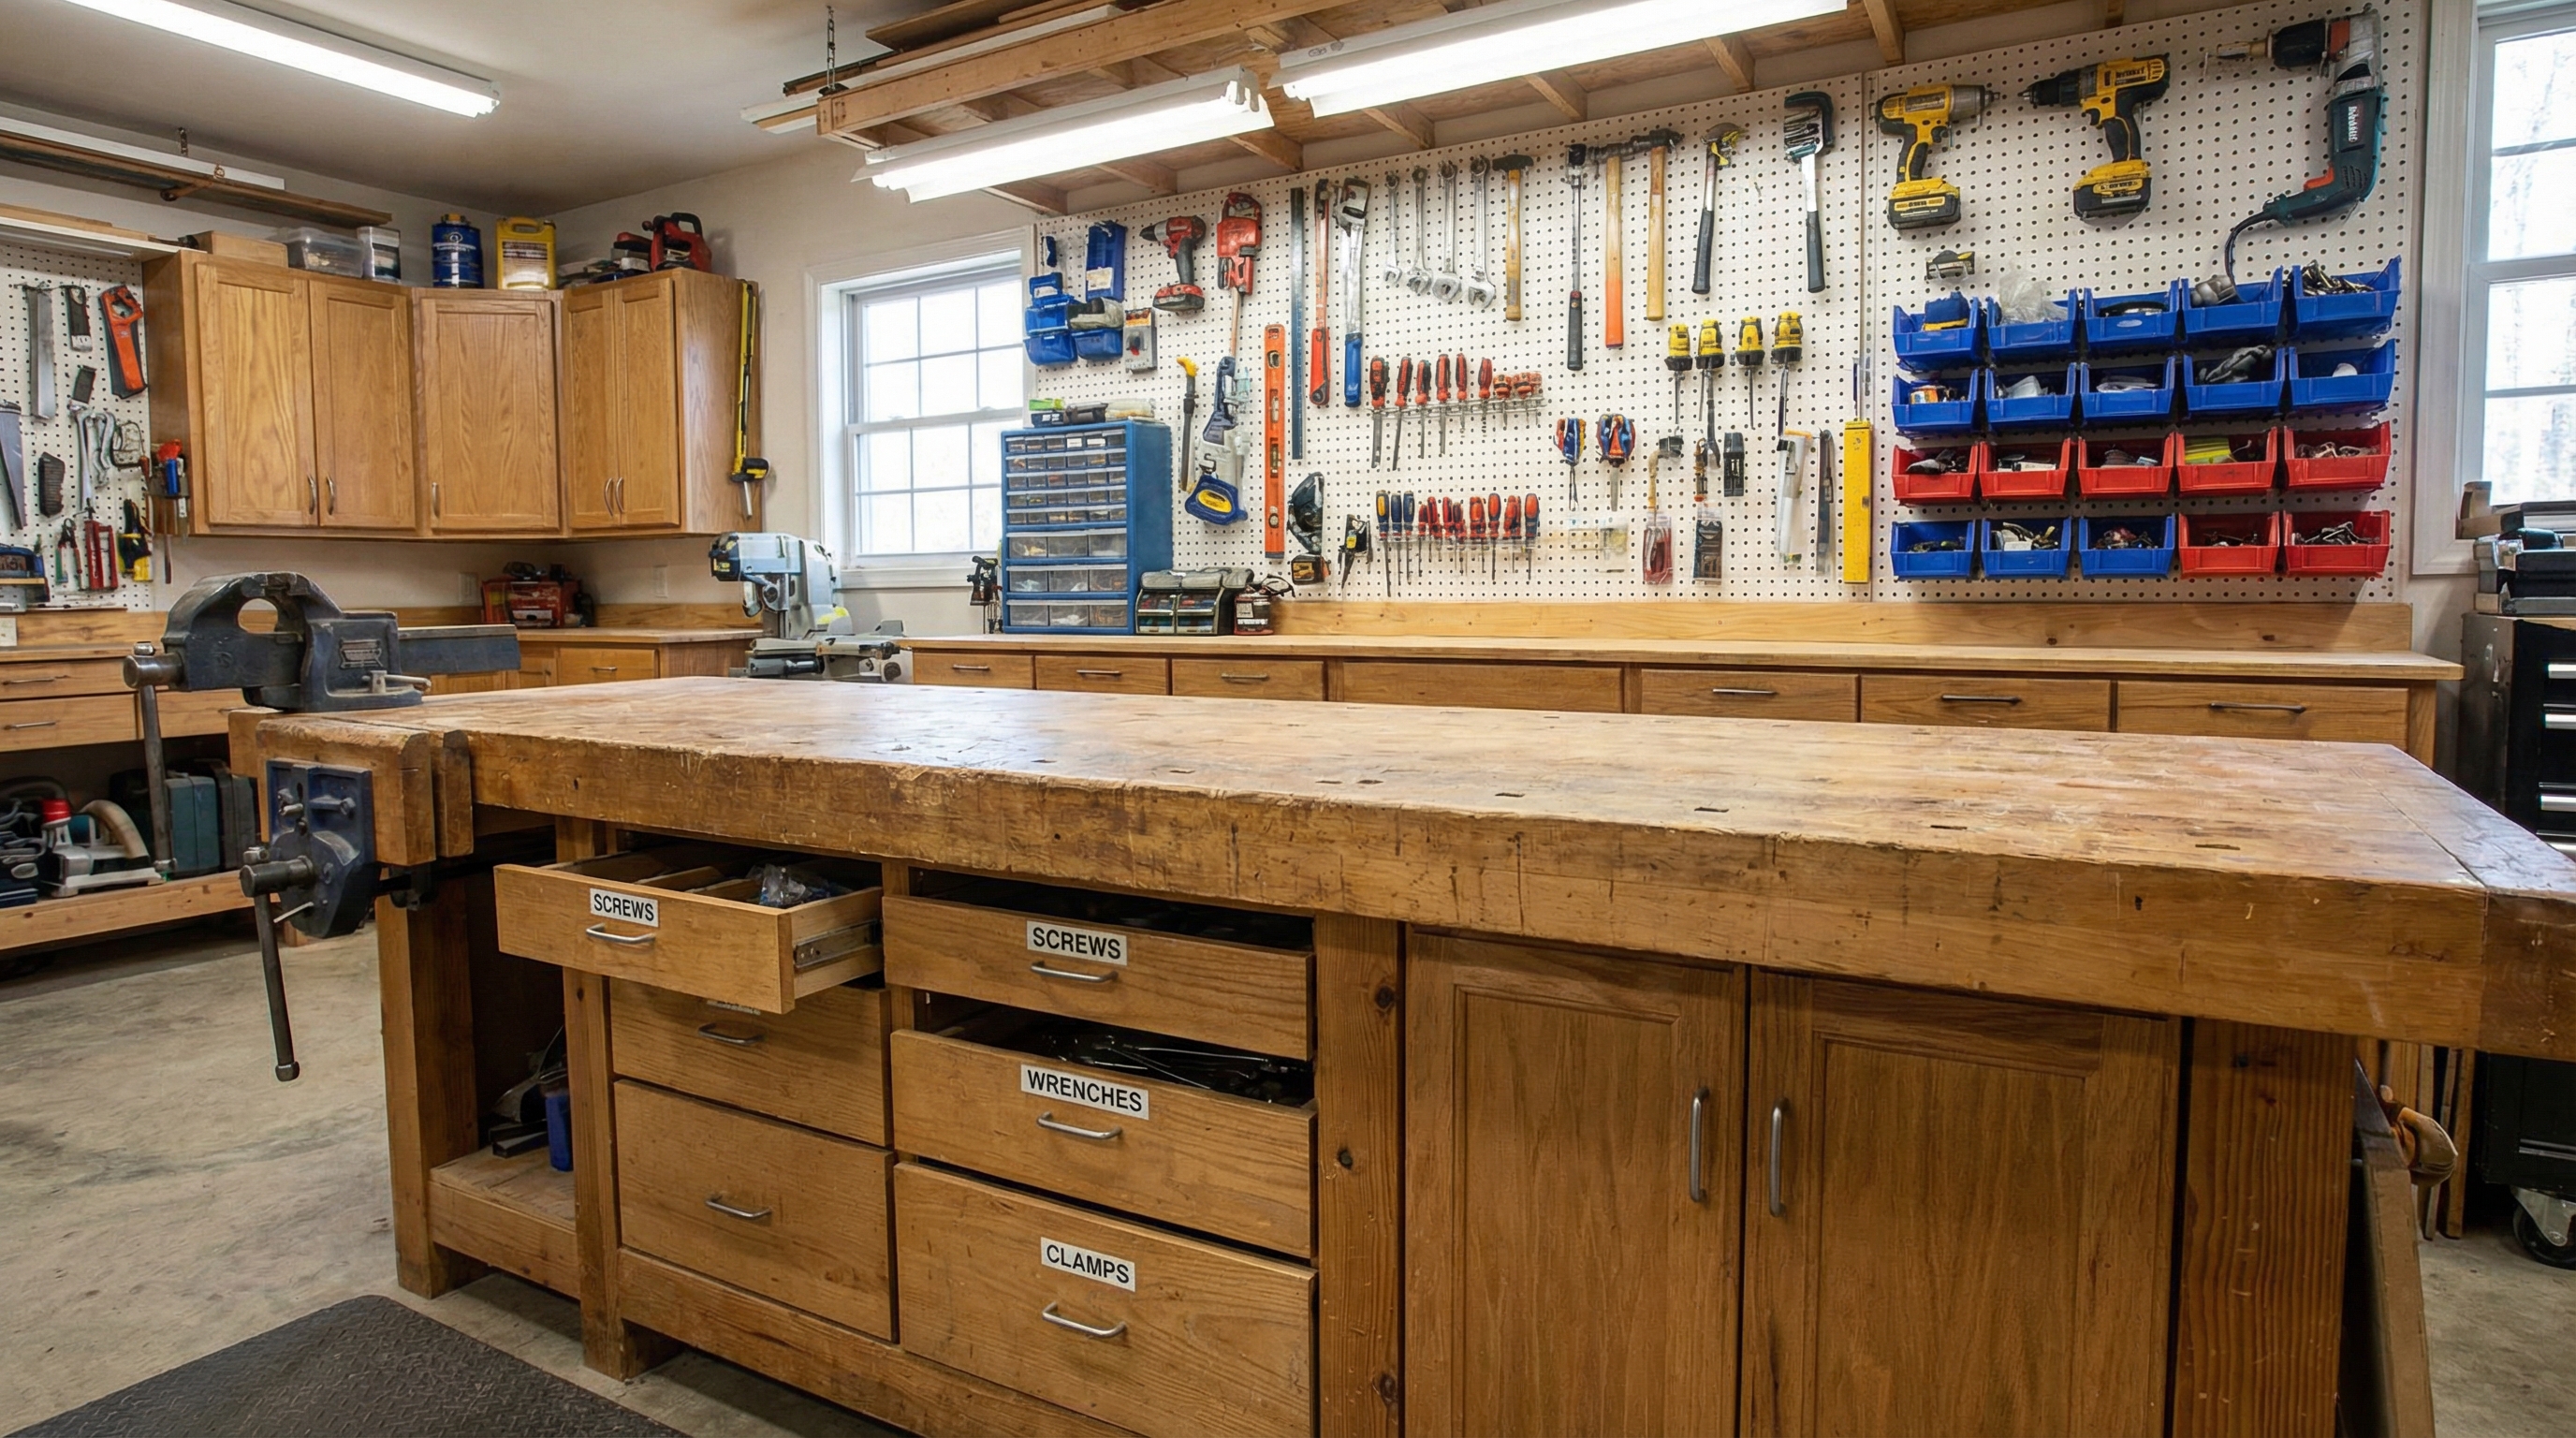
Floor space is a premium commodity in any shop. By using French cleats, pegboards, or slat-wall systems, you can move your entire tool collection onto the walls, keeping your work surfaces clear for actual project assembly. Vertical storage solutions maximize usable square footage while keeping tools within an arm’s reach of the workbench.
The ability to reconfigure your shop on the fly is a hallmark of a modern, efficient workspace. It is essential to improve weather and seismic performance with structural steel framing to support the weight of heavy mobile storage units. Labeled drawers and clear containers prevent the “lost screw” syndrome that often halts productivity mid-build.
Storage Implementation
| Storage Type | Ideal Items | Advantage | |
|---|---|---|---|
| French Cleats | Hand tools, Clamps | Highly customizable | |
| Mobile Carts | Mitre saws, Planers | Flexible floor plan | |
| Drawer Units | Fasteners, Drill bits | Dust-free organization | |
| Lumber Racks | Raw materials | Vertical space usage |
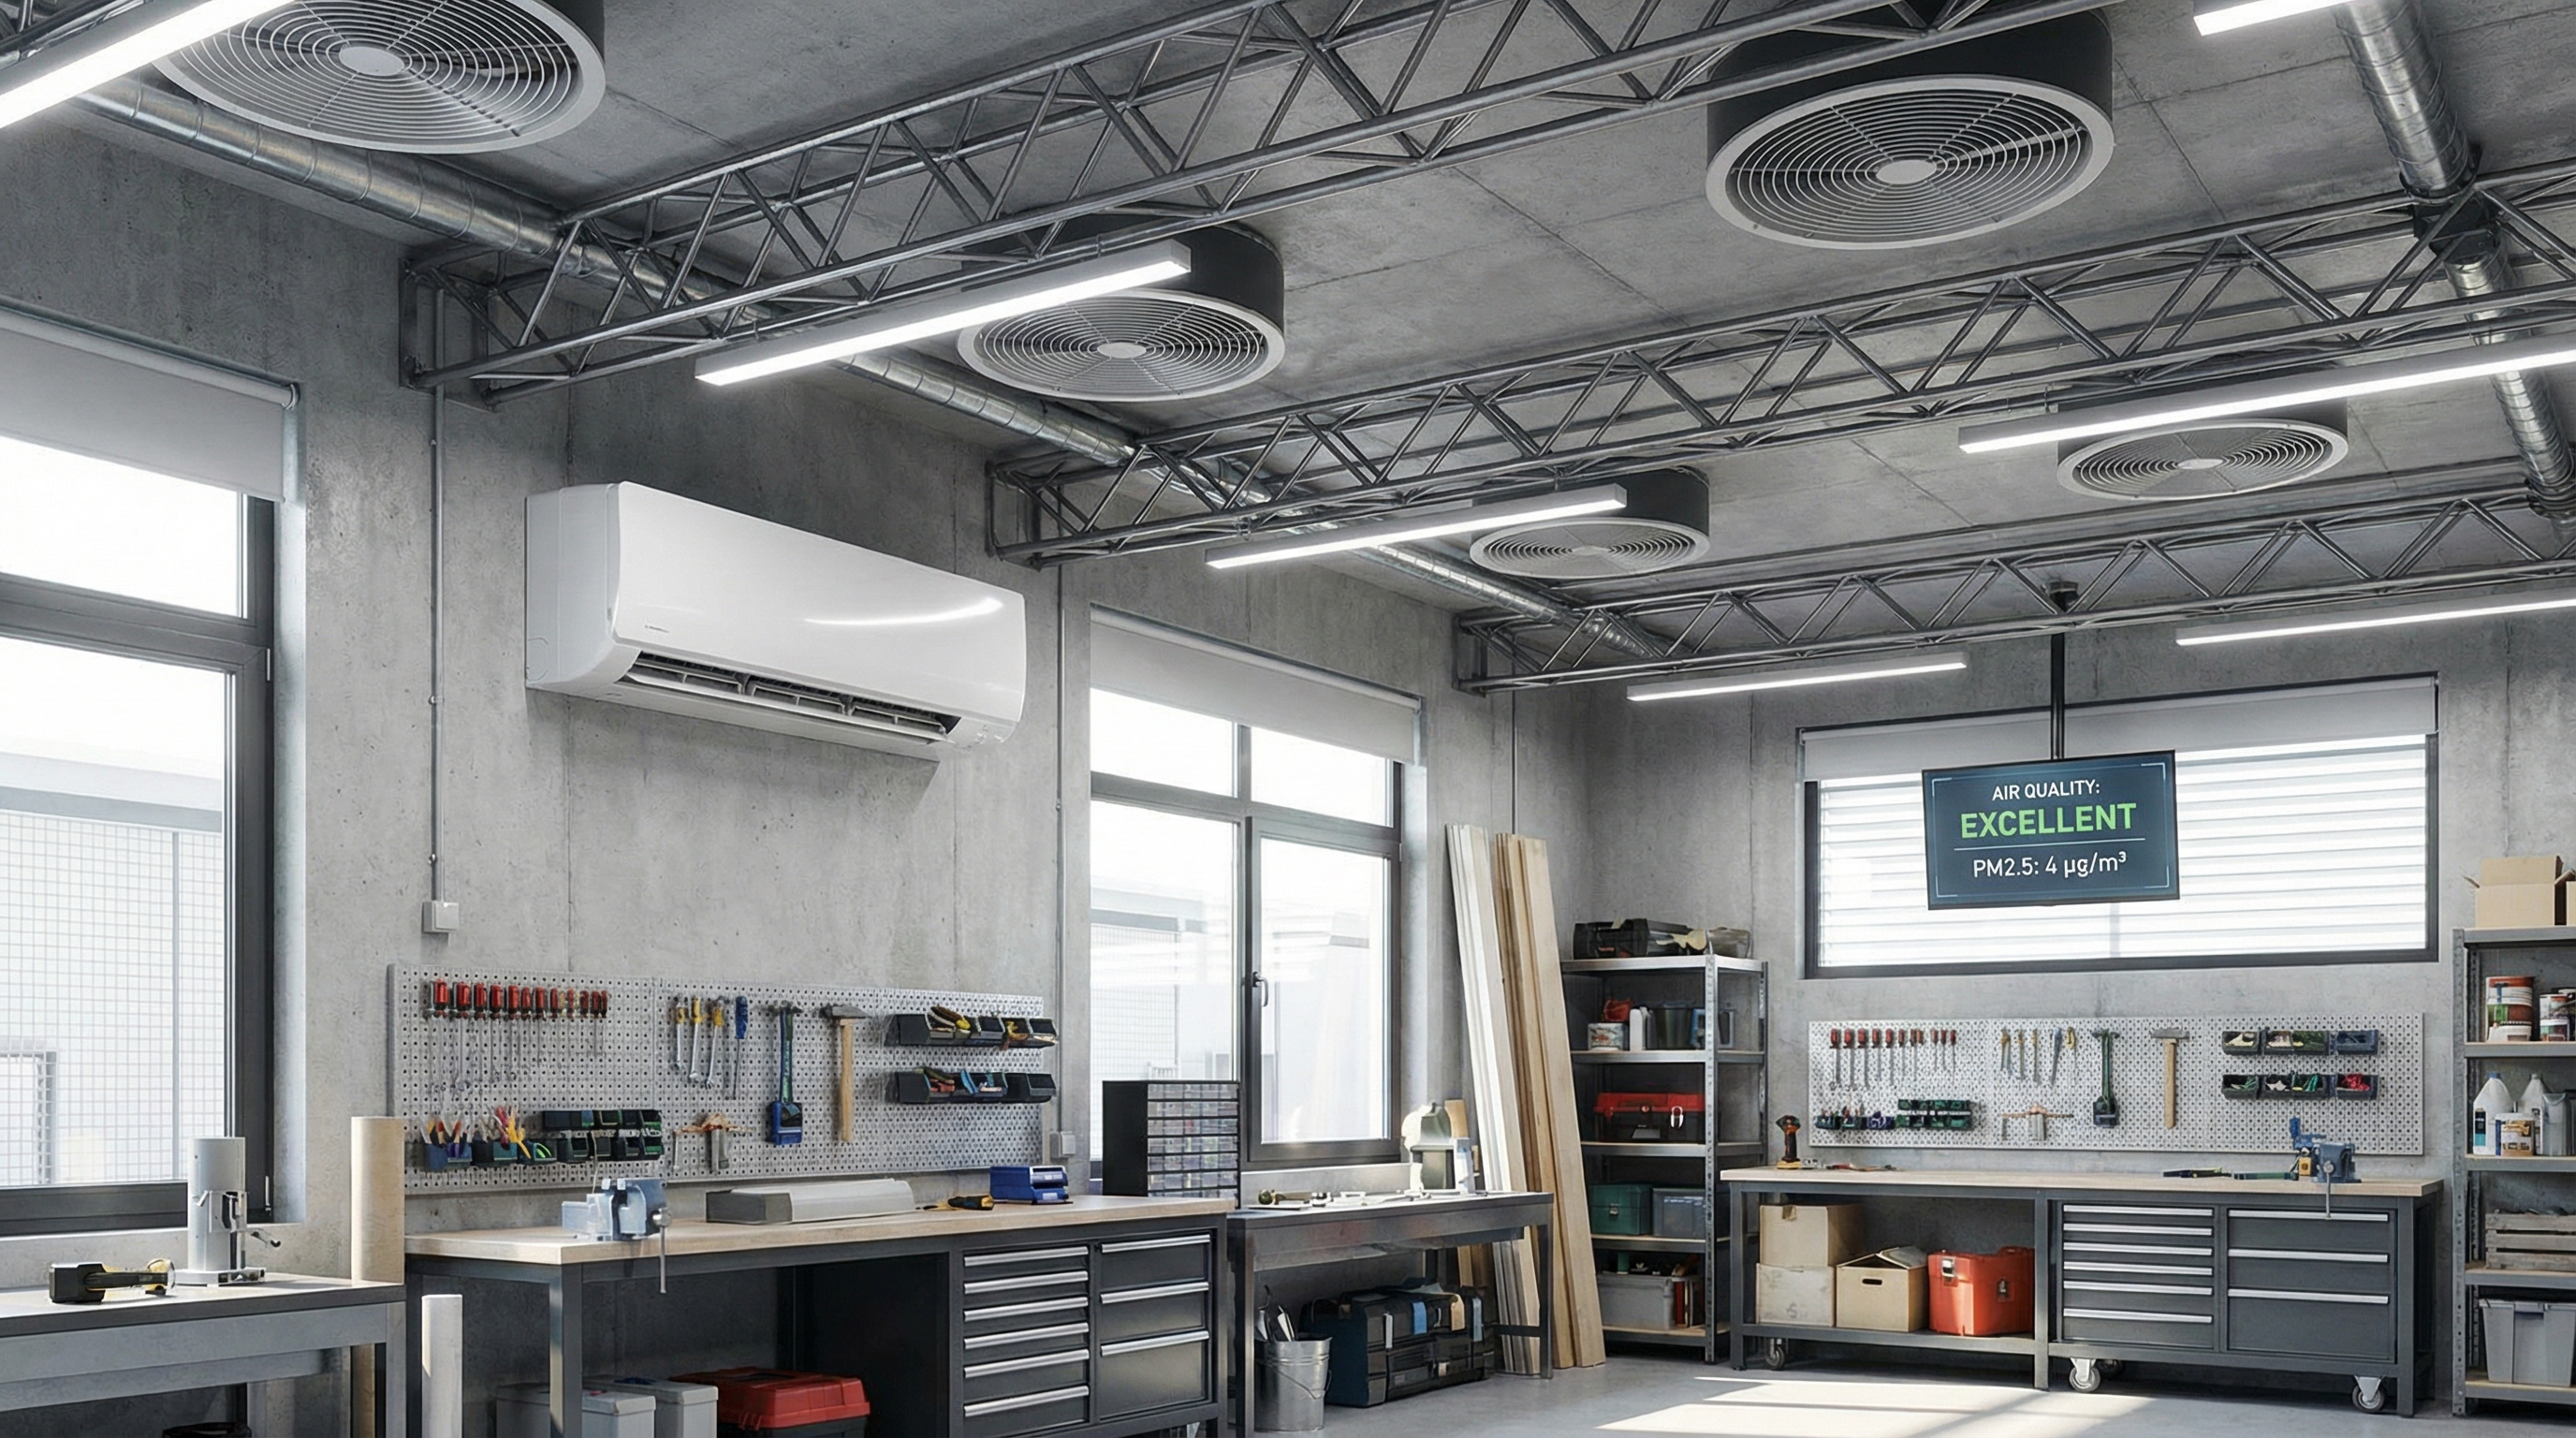
How does ventilation impact workshop building?
Clean air is essential for both project quality and long-term health. Fine sawdust is both a respiratory hazard and a fire risk, making a central dust collector with hard-piped runs a necessity. These systems pull debris directly from the source before it has a chance to settle on your surfaces or enter your lungs.
Finishing work requires consistent airflow to exhaust fumes and ensure coatings dry without dust contamination. High-efficiency air filtration units that hang from the ceiling can scrub the air of the microscopic particles that standard collectors miss. This is especially important in basement or attached garage shops where air can migrate into the living area.
Air Management Systems
| Ventilation Tool | Purpose | Efficiency Metric | |
|---|---|---|---|
| Central Dust Collector | Large debris removal | CFM Rating | |
| Ambient Air Filter | Fine particle scrubbing | Micron Level | |
| Exhaust Fan | Fume extraction | Air changes per hour | |
| Mini-Split HVAC | Climate/Humidity | BTU / SEER Rating |
What are the lighting essentials for workshop building?
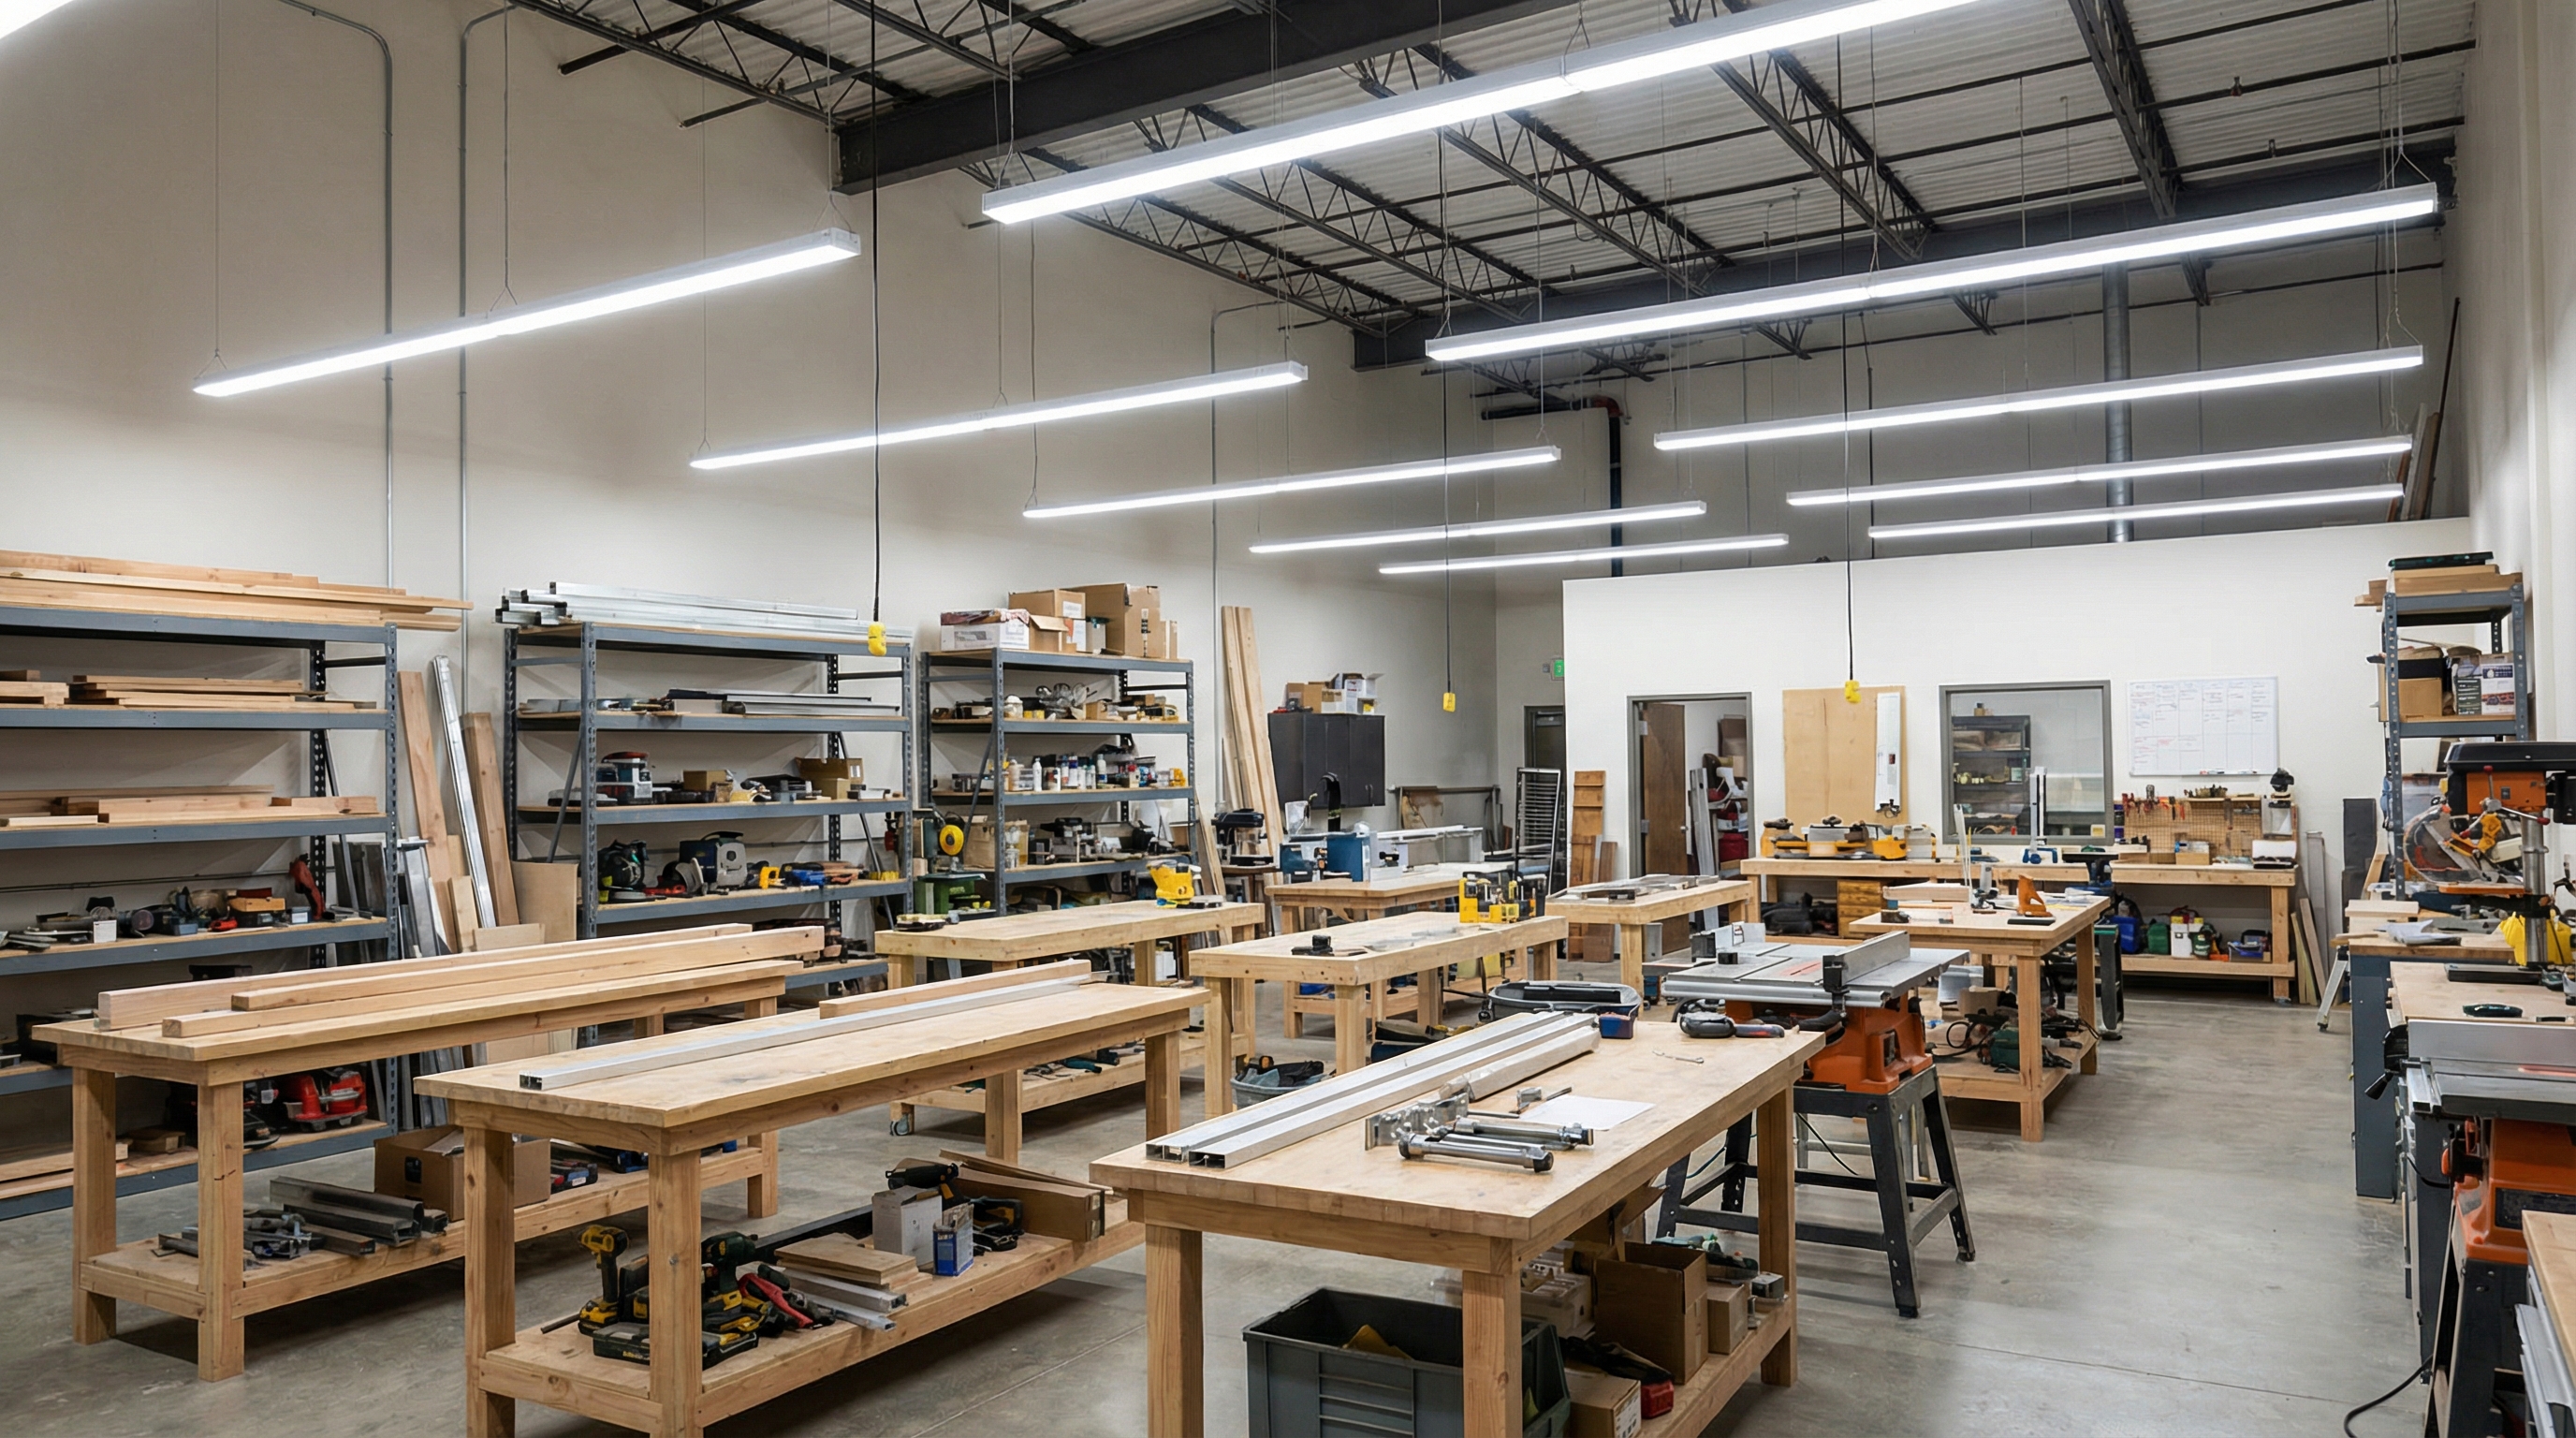
Proper lighting prevents measurement errors and reduces the risk of accidents. Relying on a single overhead light creates dangerous shadows that can lead to injury when operating high-speed machinery. A mix of high-output LED shop lights for general visibility and adjustable task lamps over workbenches provides the clarity needed for precision work.
For workshops, a color temperature between 4000K and 5000K (Daylight) is ideal for accurate color representation. To keep costs manageable, savvy builders look for ways how to lock in metal building materials prices while sourcing high-efficiency lighting fixtures. Positioning lights to the side and slightly in front of the operator ensures your body doesn’t cast shadows over the cut line.
Lighting Configuration
| Light Type | Placement | Brightness (Lumens) | |
|---|---|---|---|
| Overhead LEDs | 8-10 ft apart | 4000+ per fixture | |
| Task Lighting | Directly over bench | 1000-2000 | |
| Inspecting Light | Low angle/Portable | Variable | |
| Natural Light | High windows | Ambient boost |
How do you manage the costs of workshop building?
Keep your budget in check with careful planning. The “shell” of your workshop typically represents the largest portion of the budget, with concrete and structural framing costs fluctuating based on local labor rates. Raw material costs can be volatile, making it necessary to secure pricing early in the procurement phase.
Wiring, plumbing, and HVAC systems for a workshop are often more expensive than residential equivalents due to higher load requirements. Always include a 15% contingency fund to cover utility surprises or site preparation challenges. Strategic purchasing and utility planning are the keys to finishing your build without exceeding your financial limits.
Budget Allocation
| Expense Category | Percentage of Budget | Cost Saving Tip | |
|---|---|---|---|
| Structure/Shell | 40-50% | Order during off-peak | |
| Utilities (Elec/HVAC) | 20-30% | DIY some rough-in | |
| Interior/Storage | 10-20% | Build your own benches | |
| Contingency | 10-15% | Standardize components |
Summary and Professional Guidance
Building a workshop is an investment in your craft and your property’s value. By focusing on structural integrity, professional electrical layouts, and efficient storage, you create a space that inspires creativity rather than causing frustration. Whether you are building a small garage nook or a massive standalone steel structure, following these professional standards ensures your shop will serve you for years to come.
If you are ready to begin your next project and need expert guidance on structural materials or layout planning, contact us today . We specialize in providing the durable framing and technical support required to bring high-performance workshops to life.